
Happy December!!! Hope everyone had a wonderful Thanksgiving! Sorry there has been a lack of posts. I have been busy getting ready for Christmas, crafting and being Mommy!
Here is the first of many posts on our Handmade Christmas Cheer segment. Hope you enjoy!
********
Christmas Tree Table Runner

Materials
2 yards background fabric
2 yards backing fabric
(this will yield enough to make 2 runners)
scraps of Greens for the Trees
scraps of Brown from the stumps
Thread
Lite Fusible Web
Woven Fusible Interfacing (optional)
Cut your background fabric and backing to your desired length. My finished table runner came to 14"x69". So I cut my fabric to 15x70" allowing for a 1/2" seam allowance.
Cut out your triangles for your trees by 1st determining the size of the trees, then tracing them on to the fusible web and then attaching it to the fabric. I used my Cricut to make five different triangles and cut those out of 5 different fabrics. I did this with the stumps as well.

After I cut the triangles out, I determined my placement.

I used the backing of the fusible web to attach the corners of the trees together without attaching it to the background just yet. This method kept the tackiness of the fusible web, but allowed for a little flexibility.

I traced my placement so I could easily place my trees for the rest.

I ironed the overlapping edges trying my best not to re-iron the whole thing.

Attached and movable!

I did the same thing for the stumps.

After attaching the stumps to the trees, I placed the Christmas trees on the background, and ironed them on.

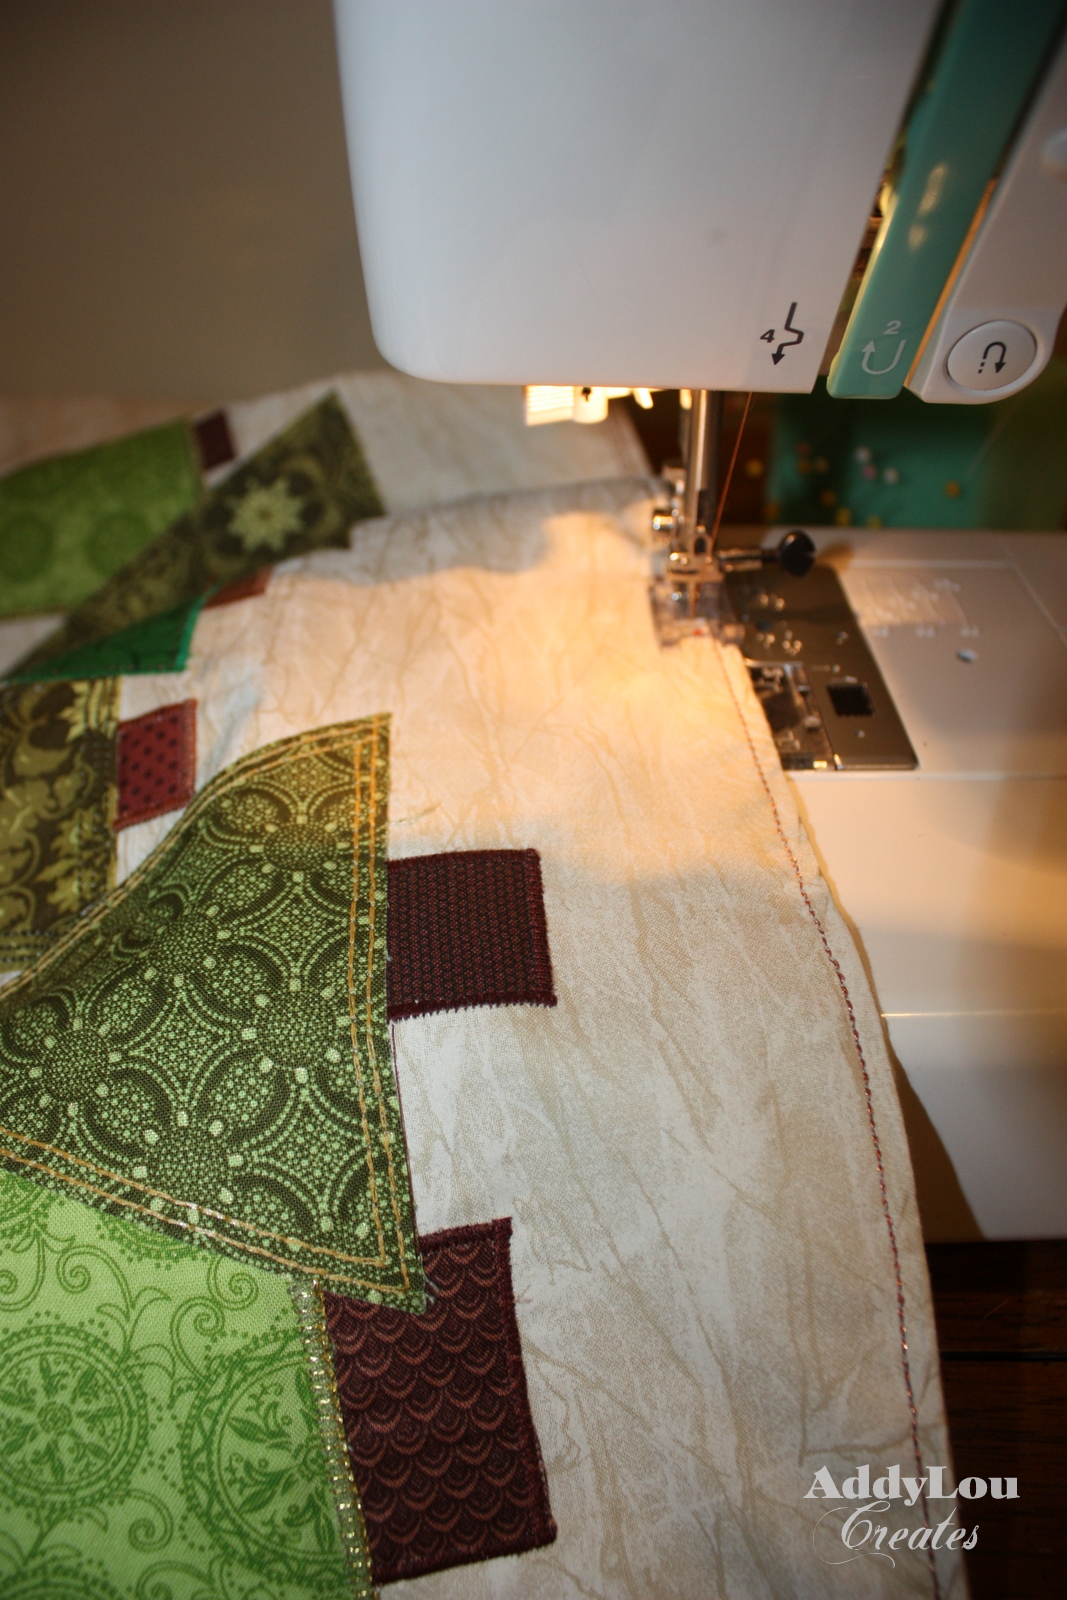
Now is the fun part. Sewing the edges. I did a different decorative edge for each tree. I think it gave each tree it's own personality. Be warned it did take a little while to do this. But I think it paid off. You could keep it simple and either zig zag or straight stitch around each tree/stump edge.

With right sides together, pin the backing to the finished top.


Sew along the sides using a 1/2" seam leaving about 4" open on one edge to turn it out.
Iron edges smooth after turning right side out. Then stitch 1/4" and 3/8" from the edge. Creating a decorative finish. This will sew the opening shut.
****NOTE****
If I had to make this again, I might add some woven fusible interfacing to the top give it a little more stiffness/crispness.
The finished product!

Hope you have enjoyed! Please keep coming back to see what I have been up to!
Thanks for reading!
I love this!! And I'm pinning it to my Quilt Inspirations board. Thank you.
ReplyDeleteYou are most welcome! Have fun. And thank you!!!
DeleteIt's beautiful! Hopefully I can squeeze in some time to make one for myself. :) Thanks for sharing!
ReplyDeleteThank you! :)
DeleteI bought the fabric but needed the inspiration and affirmation that I can do this! Happy Holiday, Sherry
ReplyDeleteLovely! Thank you for sharing!
ReplyDeleteTwo questions. Will you share the dimensions of the tree sizes and the total number of trees. And, two, did you use the same color thread for the top stitching of the trees.
ReplyDeleteBeautiful :) Thanks for sharing
ReplyDelete